LED light strips have become a popular lighting solution in many homes and businesses due to their energy efficiency, versatility, and ease of installation.
Like any electronic device, they can sometimes stop working or experience issues such as flickering or uneven lighting.
In this guide, we will provide practical steps to troubleshoot and fix broken LED light strips and also a cheat sheet.
We will guide you through the troubleshooting process and help you restore your LED light to its optimal functionality.
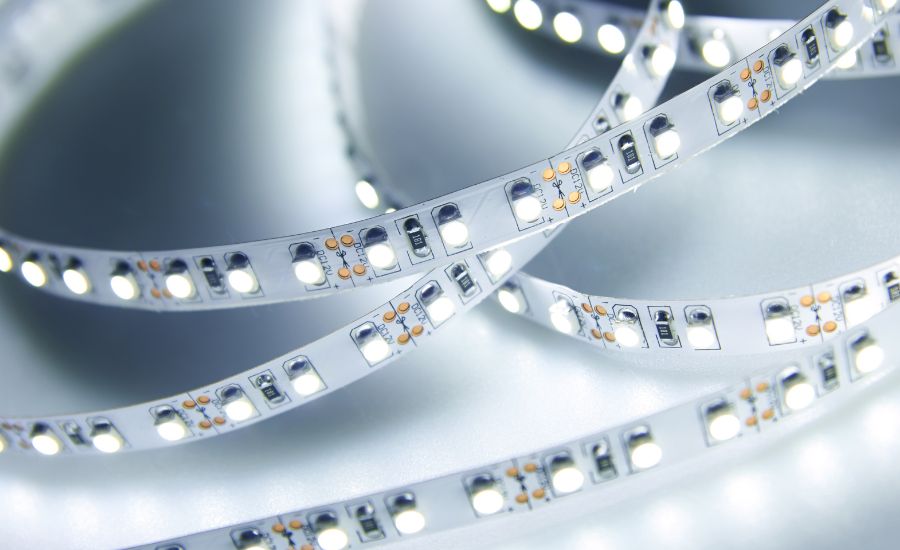
LED strip light troubleshooting
Whether your lights have stopped working or are showing different colors, we will guide you through the troubleshooting process and help you restore your LED lights.
What causes LED strip lights to stop working?
The light strip can stop working due to overheating, poor electrical connections, power surges, and voltage fluctuations.
- Electrical issues: Power surges, voltage drops, and electrical shorts can cause LED lights to malfunction or stop working altogether.
- Overheating: The Light strip can generate a lot of heat, especially when used for extended periods or in confined spaces.
- Aging components: LED strips have a limited lifespan. The LED strip may become dimmer, the adhesive backing may lose its stickiness, or the wiring may become brittle and break.
- Physical damage: LED light strips are susceptible to physical damage, such as bending, twisting, or crushing.
Can you fix broken LED strip lights?
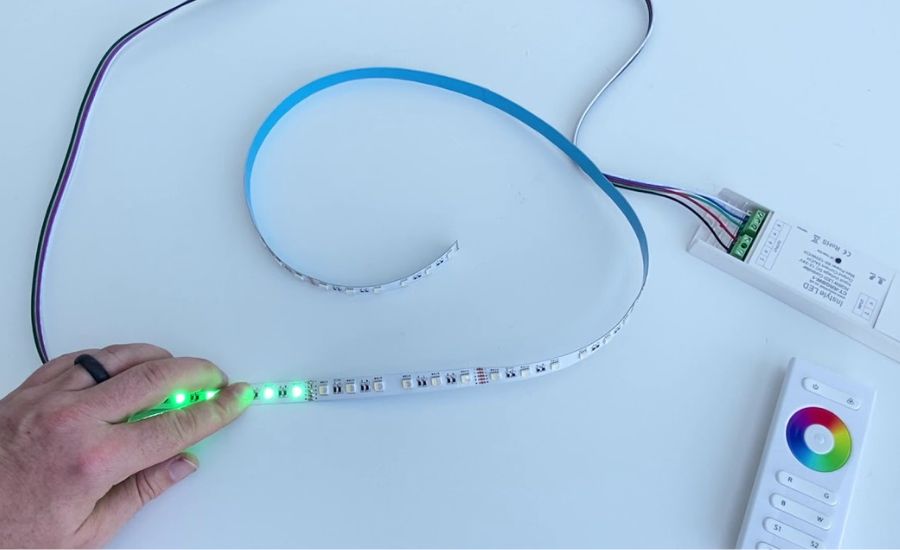
To fix a broken LED light strip, identify the issue by checking whether the entire strip or just some sections aren’t working.
Check the power supply and connections for any faults.
Tighten any loose connections or replace any faulty components.
If necessary, cut out and replace any damaged sections. If you’re unsure, seek the help of a professional electrician.
How to troubleshoot a damaged LED light strip
Here are some steps to help you troubleshoot a broken connection of light.
- Check the voltage: You can use a multimeter to test the voltage at the power supplies or at the end of the light strip. If the voltage is too low or too high, it may cause the light strip to malfunction.
- Check the connector: A damaged connector can cause the strip light to stop working, so you may need to replace it.
- Test accessories: If your LED strips come with accessories such as a remote control or a dimmer, you should test them to see if they are working properly.
- Troubleshoot connection: If you find any loose connections, you can fix them by soldering or using a connector.
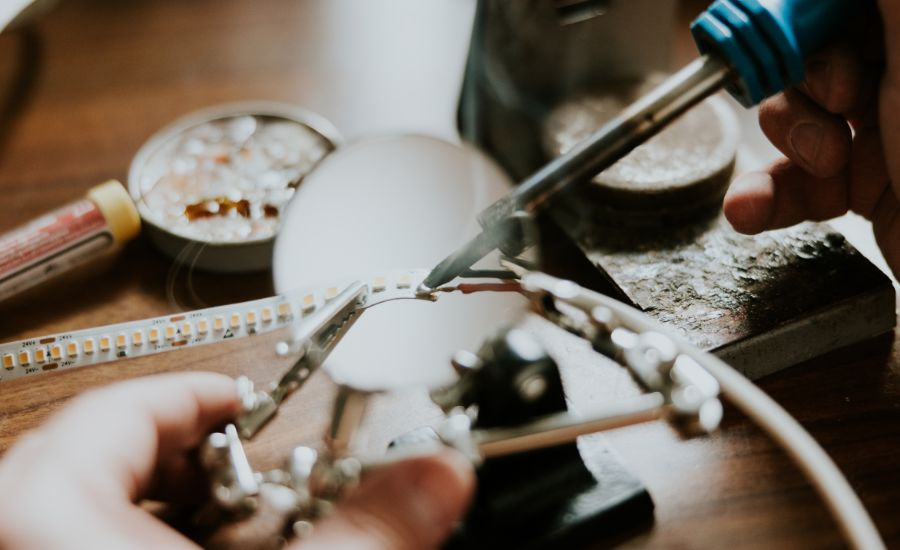
How to resolve common problems with LED strips
Here are some common issues and tips on how to resolve them.
You should replace or cut out and apply solder to the section, then check the connection and voltage, look for visible damage, and, if you have adhered lights properly to a surface, there is no problem left.
You should also ensure that all connections labeled are tight and properly soldered, then move to a cooler location or add ventilation in the final follow manufacturer’s instructions and solder connections properly.
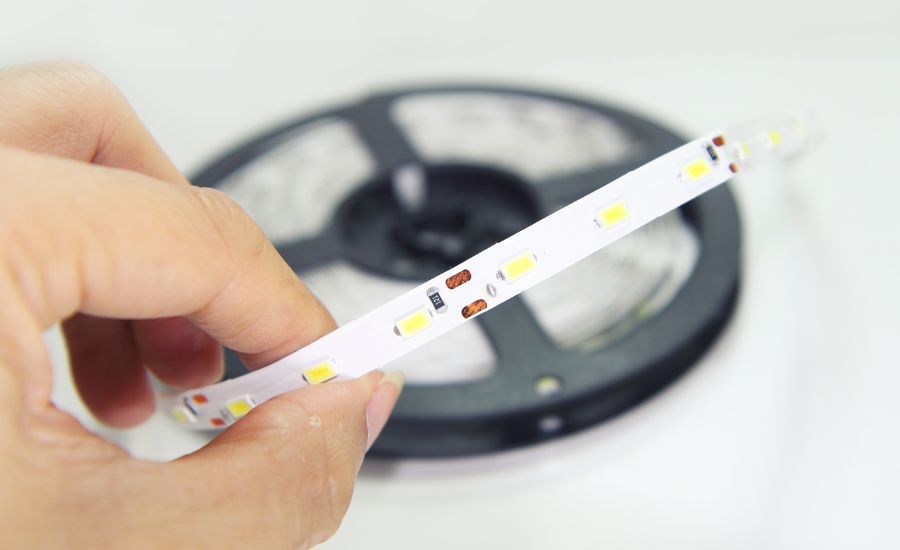
How to fix broken LED light strips
By following these guidelines, you can identify the source of the problem and take appropriate action, whether that involves repairing the strip itself.
Check the strip lights
But what are the first things to check if the light strip is not working properly, mostly the strip itself?
You should turn off the power supply and then inspect the lights for damage and loss of connection.
You should test its voltage with a voltmeter then check the connector pins between the strips and power supply and see if you find anything you should repair or replace any damaged sections.
Check power source
To troubleshoot power-related issues with your LED strip lighting, you should double-check the outlet and power cord for damage.
Ensure that the power supply is plugged in and turned on, then check the connection between the power supply and light strips.
Verify that the power supply is providing the correct amount of power flow, it should resolve power-related issues.
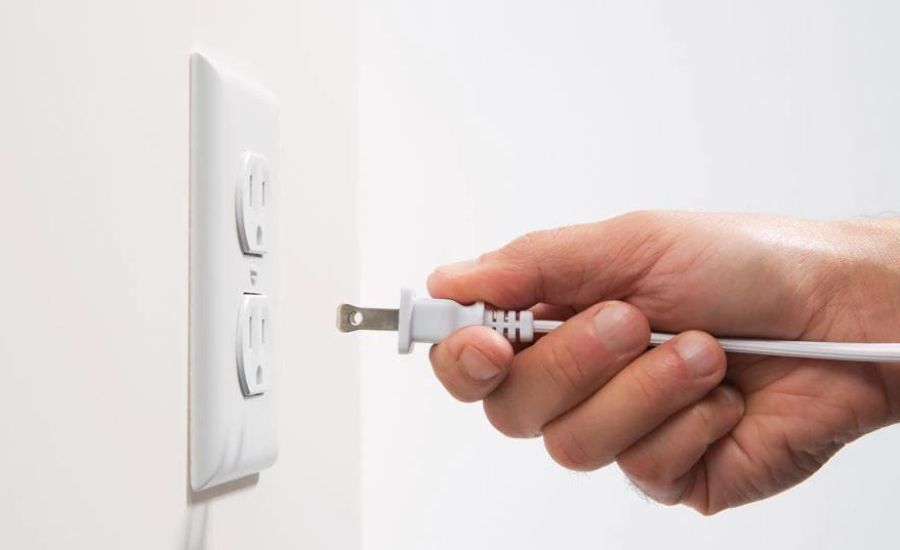
Test voltage
Before testing the voltage, turn off the power supply to your LED lights to avoid a voltage drop.
To test the voltage, you’ll need a multimeter. Set the multimeter to DC voltage and touch the probes to the positive and negative terminals of the light strips.
Check that the voltage matches the manufacturer’s specifications for your LED lights. If the voltage is too low or too high, you may need to double-check the power supply or connections.
If you have multiple sections of lights, test the voltage of each section separately to identify any issues.
Check the power supply
Make sure that the power supply is connected properly to both the LED light strip and the power source. If the connection is loose, it can cause a voltage drop.
Check the power supply for any visible damage, such as frayed wires or a cracked casing. If you see any damage, it may be best to replace the power supply.
If you have a spare power supply, try using it to power the LED light strip instead. If the strip light works with the new power supply, then the original power supply may be faulty.
Check the connector
One of the most common causes of strip light issues is a loose or faulty connector.
Turn off the power supply to the faulty light strips, then locate the connector between the LED light strip and the power source.
Check that the connector is properly plugged in and securely attached. If the connector is loose, gently push it back into place and make sure it’s properly seated, or replace it.
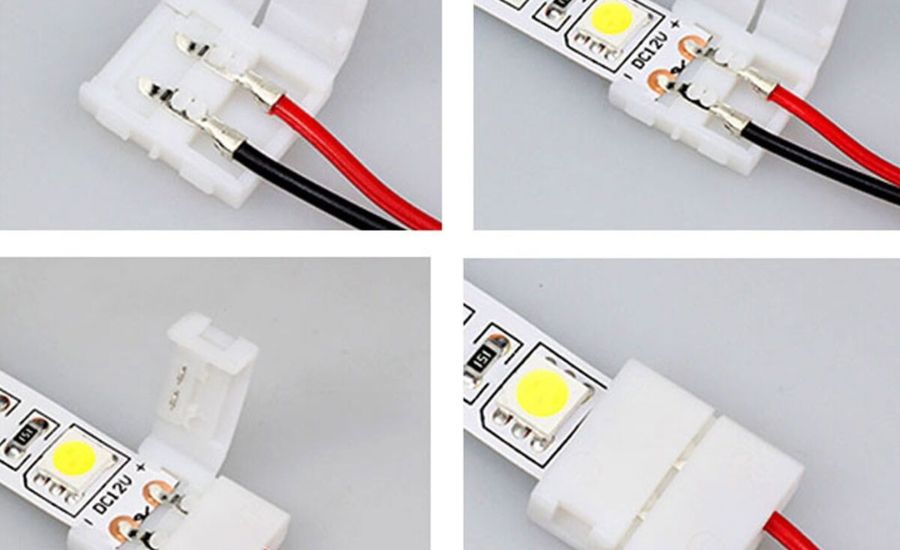
Strip lights maintenance
Follow these tips for maintaining your strip light, including fixing common issues, cutting LED light strips, and repairing connectors.
Things you’ll need
Before you begin working with LED light, it’s important to have the right tools and materials and also a cheat sheet on hand. Here are some things you’ll need to get started:
- Iron soldering: If you need to make any connections between sections of the working strip, you’ll need a soldering iron.
- Solder: You’ll also need solder to make the connections between sections of the lights.
- Wire cutters: You may need wire cutters to cut the new or leftover roll to the appropriate length.
- Connector clips: Connector clips can be used to make a connection between sections of lights without the need for soldering.
- Mounting clips or adhesive tape: You’ll need to have a way to mount the new strip light, whether it’s with mounting clips or adhesive tape.
How do you fix LED lights when half is a different color?
If half of your LED strip lighting is a different color than the other half, it’s likely due to a power source issue.
Look for the faulty strip or missing sections in the copper connections. If you find any, cut out the bad connection (damaged section) and resolder the remaining sections with other working strips.
Swap the affected section with a working section.
This will help you determine if the problem is with the lights or with the power supply.
Use a color controller to adjust the color of the lights. This allows you to match the color of the affected half to the color of the other half.
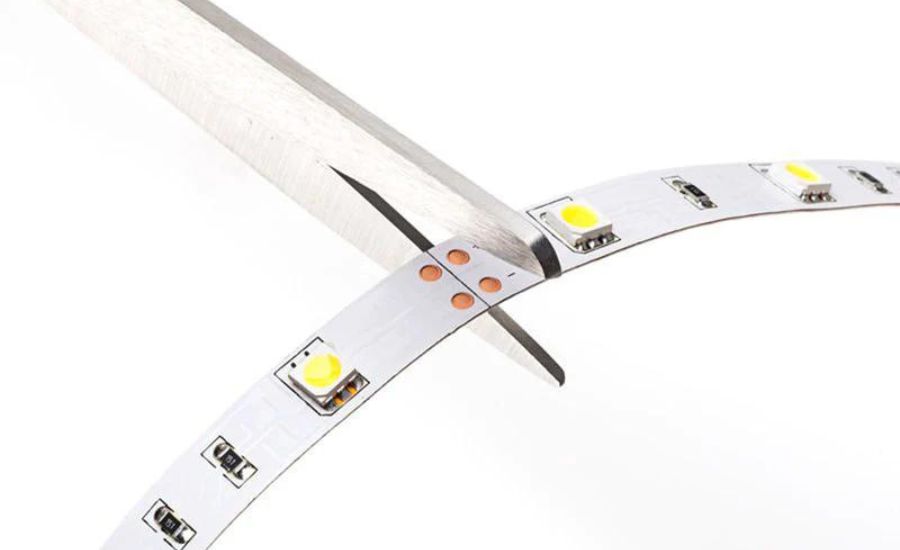
Light strip copper sections
Lights consist of a proper number of copper circuits that provide power to the individual LEDs. These copper circuits are typically exposed and visible on the back of the strip.
To avoid damaging the copper circuits, it’s a good idea to cover them with a layer of electrical tape.
How to cut LED light strips
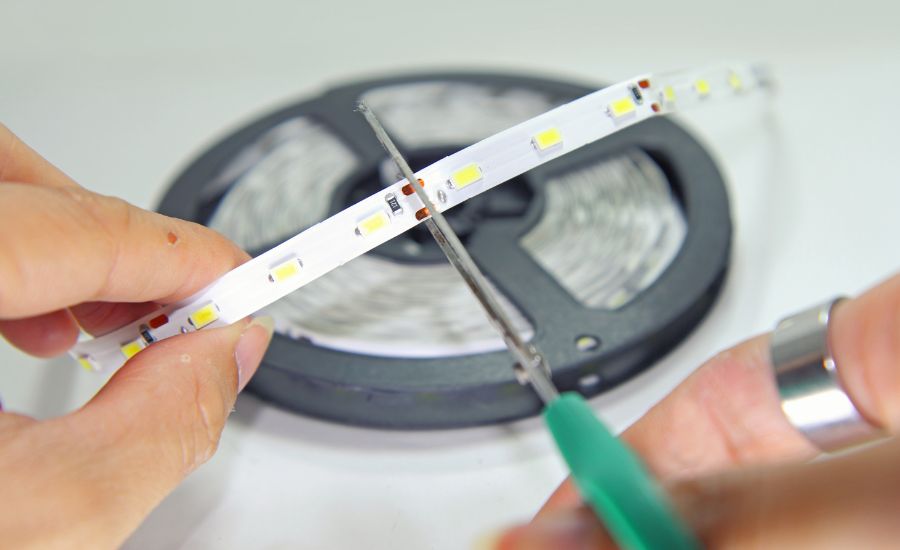
LED light strips can be customized to fit your specific needs by cutting them to the desired length.
Use a measuring tape to determine the length you need to cut the LED light strip to.
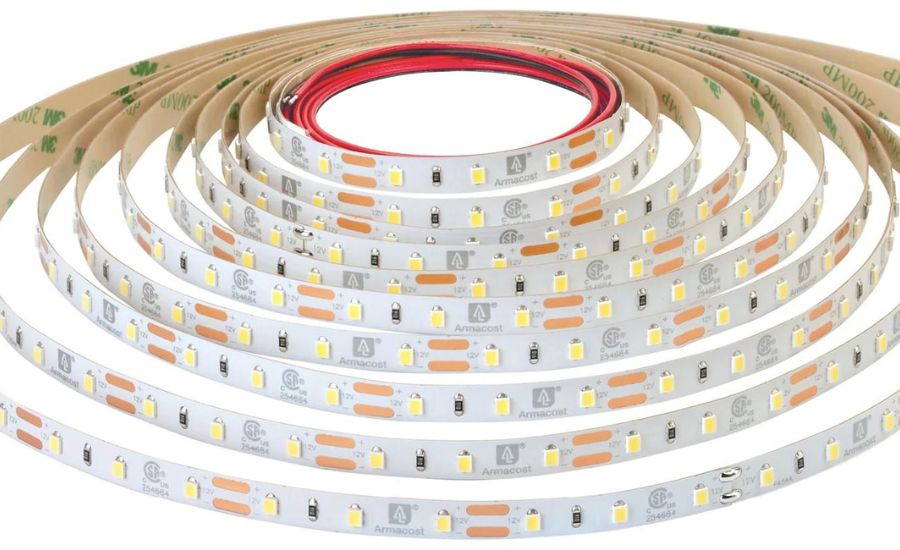
Look for the designated cut marks on the LED light strip.
These are usually indicated by a pair of copper markings or a dashed line.
If possible use scissors or a utility knife to cut the LED light strip along the designated cut marks.
FAQ
Why is my LED strip light not working?
There are several possible reasons why an LED light may not be working, including incorrect installation, faulty connections, damaged or defective components, or power supply issues.
How do you fix LED lights when they stop working?
To fix LED light when they stop working, you can try replacing the bulb, checking the connections, or resetting the circuit breaker.
How do I fix my LED light connector?
To fix a light connector, first, ensure that the power source is turned off. Then, reposition the connector or check for any loose connections. If necessary, replace the faulty connector with a new one.
Conclusion
Repairing LED lights is a simple process that requires some basic tools and knowledge of electrical systems.
By following the recommended troubleshooting steps and performing routine maintenance, users can ensure that their LED lights function properly and efficiently.
With a little effort and attention, lights can provide beautiful and functional lighting for any space.

